Fix a Torch Lighter Not Working: Quick Steps
When your torch lighter won’t fire, run this checklist first: purge the tank, refill with triple-refined butane, set the flame adjuster to mid-range, and check for spark. Most failures trace back to fuel-delivery problems, specifically trapped air or low-quality butane, rather than a broken igniter. Survival Frog’s troubleshooting guide confirms that hissing patterns and flame-height settings diagnose the majority of fuel-side issues before you ever need a screwdriver.
Try these four steps right now:
- Purge the tank: press a small blunt tool into the fill valve to vent trapped air
- Refill: use triple-refined butane in short 3-second bursts, then wait 2 minutes
- Set flame to mid: turn the adjuster to the center of its range
- Check spark: hold the lighter near your ear and click; a faint click means the igniter is firing
Key Takeaways
A torch lighter not working almost always comes down to trapped air, low-quality butane, or a dirty jet — and the fix order matters as much as the fix itself.
| Point | Details |
|---|---|
| Purge first, always | Vent trapped air from the fill valve before every refill to prevent sputter. |
| Triple-refined butane only | Impurities in cheap butane clog the jet and cause yellow or weak flame. |
| Wait 2 minutes after refilling | Zippo specifies a minimum two-minute stabilization period before testing ignition. |
| Stop DIY on leaks or heat damage | Persistent fuel smell, a stuck valve, or a glowing jet head means repair or replace. |
| Thor’s Cigar Vault for replacements | The shop carries premium torch lighters and accessories for when repair is no longer worth it. |
Table of Contents
- Why is my torch lighter not igniting? Symptom triage
- How to fix a torch lighter step by step
- How to clean the jet and check the igniter
- Vapor lock, cold weather, altitude, and angle problems
- When should you stop DIY and seek repair or replacement?
- Simple maintenance habits that prevent most failures
- A note from Thor’s Cigar Vault
- Premium lighters and accessories at Thor’s Cigar Vault
- Sources
- FAQ
Why is my torch lighter not igniting? Symptom triage
Match your symptom to the table below before you start disassembling anything. Each row takes 10–30 seconds to check.
| Symptom | Likely cause | Fast self-check |
|---|---|---|
| Hisses but no flame | Flame adjuster too high or too low | Turn adjuster to mid; listen for steady moderate hiss |
| Flame lights, then dies | Trapped air or vapor lock | Purge tank, refill, wait 2 min before testing |
| Weak or yellow flame | Clogged jet or low-purity butane | Blow compressed air across jet; check butane label for “triple-refined” |
| No spark at all | Piezo misaligned or worn | Click in a dim room; visible spark means fuel issue, not igniter |
| Flame dies when tilted | Pickup tube or valve wear | Test upright only; if upright works, valve wear is likely |
Safety note: any row that involves venting butane (purging, vapor-lock release) requires a ventilated area with no open flames nearby. Point the fill valve away from your face.
How to fix a torch lighter step by step
Run this sequence in order. Stop when the lighter works.
Purge the tank first. Flip the lighter upside down. Press a small blunt tool (a pen cap, a toothpick tip, or a dedicated purge tool) into the fill valve. You will hear a hiss as trapped air and residual butane vent out. Hold it for 3–5 seconds, or until the hiss stops. According to LighterPoint, trapped air sitting above the butane is the most common reason for post-refill sputter.
Warm the lighter. Cold butane has lower vapor pressure and often fails to ignite. Hold the lighter in your palm for a short time before refilling to warm the fuel.
Refill with triple-refined butane. Hold the can inverted and press the nozzle straight into the fill valve. Fill in short bursts and stop when fuel begins to spill back, indicating the tank is full. Coohom’s repair guide recommends triple-refined butane specifically because impurities in cheaper cans clog the jet over time.
Wait. Set the lighter down and allow a stabilization period after refilling before testing ignition. Zippo’s FireFast Torch documentation specifies a minimum two-minute stabilization period after refilling.
Set the flame adjuster to mid-range. Find the small brass screw on the base (usually marked with + and –). Turn it to the center of its travel. Excessive hissing when you click means the setting is too high; no hiss at all means it is too low.
Test the spark. Click the igniter in a dim room. A visible blue spark means the igniter is working and the problem is fuel-side. No spark points to the igniter itself.
If you get fuel but no spark: hold the lighter near a lit match to confirm butane is flowing. A flame from the match test means your igniter needs attention, not your tank.
If the flame dies when you tilt the lighter sideways, the pickup tube or internal valve is likely worn. That is a repair-or-replace situation, not a cleaning fix.
Pro Tip: After purging, shake the lighter gently near your ear. A faint liquid slosh means there is still butane inside; silence means the tank is empty and you skipped a refill.
How to clean the jet and check the igniter
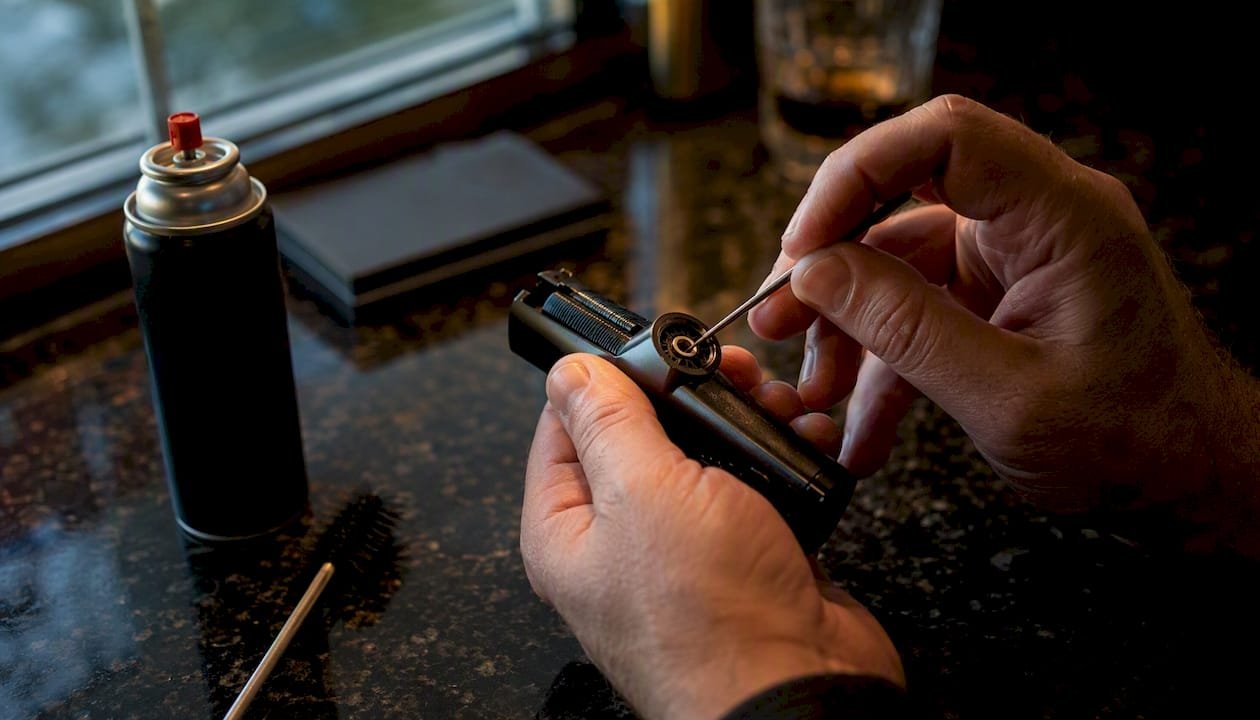
Cleaning and a quick igniter check usually restore a weak or yellow flame without any disassembly.
Cleaning the jet and air inlets:
- Use a soft-bristle brush (an old toothbrush works) to sweep debris away from the nozzle opening
- Give the jet a short burst of compressed air from a can, held 2–3 inches away, to clear particulate without forcing it deeper
- Wipe around the head (not inside the orifice) with an isopropyl-dampened cotton swab
- Never poke a metal pin into the orifice; it scratches the interior and changes the spray pattern permanently
Checking and adjusting the igniter:
- Click the lighter in a dim room. A blue spark that lands near the jet tip is correctly aligned. A spark that fires to the side or far from the nozzle needs gap adjustment.
- Use a nonmetallic tool (a wooden toothpick or plastic spudger) to gently nudge the electrode closer to the jet. Metal tools risk shorting the piezo crystal.
- If your lighter uses a rechargeable electric igniter module, charge it fully before concluding it is dead.
Pro Tip: A yellow or orange flame almost always means contaminated butane, not a dirty jet. If cleaning the nozzle does not fix the color, switch butane brands before going further.
Vapor lock, cold weather, altitude, and angle problems
If the standard fixes fail, environmental and mechanical conditions are usually the culprit.
Vapor lock occurs when pressure builds inside the tank and blocks fuel flow. Zippo’s FireFast documentation describes the release method: flip the lighter upside down, press the fill valve with a small blunt tool in a ventilated area, and let the pressure equalize. Butane escaping during this step is flammable — keep all ignition sources away and do it outdoors or near an open window.
Cold weather and altitude both reduce butane vapor pressure, which means less fuel reaches the jet.
- Warm the lighter in your hand or shirt pocket for 60 seconds before use
- Increase the flame adjuster one click higher than your normal setting in cold or high-altitude conditions
- Avoid leaving the lighter in a cold car overnight; repeated freeze-thaw cycles accelerate valve wear
Angle-of-use problems are easy to overlook:
- Most torch lighters are designed for upright or slightly angled use
- Holding the lighter fully sideways or inverted during lighting starves the pickup tube
- If the lighter works upright but fails at an angle, the pickup tube is functioning correctly; adjust your grip
When should you stop DIY and seek repair or replacement?
Stop home repairs and seek manufacturer service or a replacement unit if you notice any of these:
- Fuel smell persists after a full purge and a 5-minute wait
- The fill valve sticks open or leaks continuously
- The case is cracked or shows heat discoloration
- The jet head glows red at a low flame setting
- Three full purge-refill cycles have not restored ignition
Zippo’s warranty and repair pathway lets you submit a repair request directly through their knowledge base rather than returning the unit to a retailer. Check your lighter’s manufacturer page for the equivalent process; most major brands offer a similar online submission.
Immediate safety actions if you see any of the above signs: stop using the lighter, store it upright in a cool area away from heat sources, and ventilate the storage space.
Pro Tip: Write the purchase date on a piece of tape inside the box. Most torch lighter warranties run 1–2 years, and manufacturers need proof of purchase to process a claim.
Simple maintenance habits that prevent most failures
Routine care prevents the majority of torch lighter problems before they start. TheToolStrunk’s checklist confirms that a short repeatable routine keeps jet lighters reliable across hundreds of uses.
- Purge before every refill, not just when the lighter misbehaves; this clears accumulated air before it causes a problem
- Stick to one brand of triple-refined butane; switching brands introduces inconsistent impurity levels
- Brush the jet and air vents monthly with a soft toothbrush, even when the lighter is working fine
- Store upright and capped to prevent debris from settling into the nozzle
- Warm the lighter in your pocket for a minute before use in cold weather
Pro Tip: After every refill, do a quick spark-and-flame check before you put the lighter away. Catching a weak flame at home beats discovering a dead lighter mid-smoke.
A note from Thor’s Cigar Vault
Thor’s Cigar Vault carries premium lighters and cigar accessories chosen for reliability and build quality, the kind of gear that responds to proper maintenance rather than fighting you at every refill. When a lighter reaches the end of its useful life, or when you want to upgrade to a single torch or triple torch that suits your smoking style, the team is available to help you find the right fit. All tobacco and accessory sales on the site are age-restricted to adults of legal smoking age per applicable U.S. law.
Premium lighters and accessories at Thor’s Cigar Vault
When a lighter is past saving, or when you want a reliable backup before your next smoke, Thor’s Cigar Vault stocks a curated selection of high-quality torch lighters, cases, and accessories. Every product in the lineup is chosen for build quality and long-term performance, not just price point.

Browse the full accessories and lighters shop to find a replacement that fits your hand and your humidor. If you want to protect your cigars while you are at it, the Arturo Fuente Opus X 20th Anniversary Carbon Fiber Cigar Case is one of the sharper options in the collection.
Sources
- Butane Torch Lighter Troubleshooting | Survival Frog
- FireFast® Torch
- How To Fix A Torch Lighter That Won’t Stay Lit? | Solid Flame Fixes
- What Is A Butane Lighter Purge Tool? Do I Need One?
Consult your lighter’s manufacturer page for model-specific vapor-lock release steps and warranty submission details, as procedures vary by brand and product line.
FAQ
How do you burp a torch lighter?
Flip the lighter upside down and press a small blunt tool into the fill valve until you hear a hiss, then hold for 3–5 seconds. This vents trapped air above the butane, which is the most common cause of post-refill sputter.
Why does my torch lighter struggle to light after refilling?
Rushing to ignite before the lighter stabilizes is the usual reason. Wait at least 2 minutes after refilling so cold butane and trapped bubbles settle, then set the flame adjuster to mid-range before testing.
What causes a lighter to stop working entirely?
Most complete failures come from a fully air-locked tank, a clogged jet, or a misaligned piezo igniter. Run the purge-refill-clean sequence first; if there is still no spark after cleaning, test with a match to confirm whether the problem is fuel-side or igniter-side.
How do I get my torch lighter to spark again?
Click the igniter in a dim room to check for a visible blue spark. If the spark exists but misses the jet, use a nonmetallic tool to nudge the electrode back into alignment. No spark at all after cleaning usually means the piezo crystal is worn and the unit needs repair or replacement.