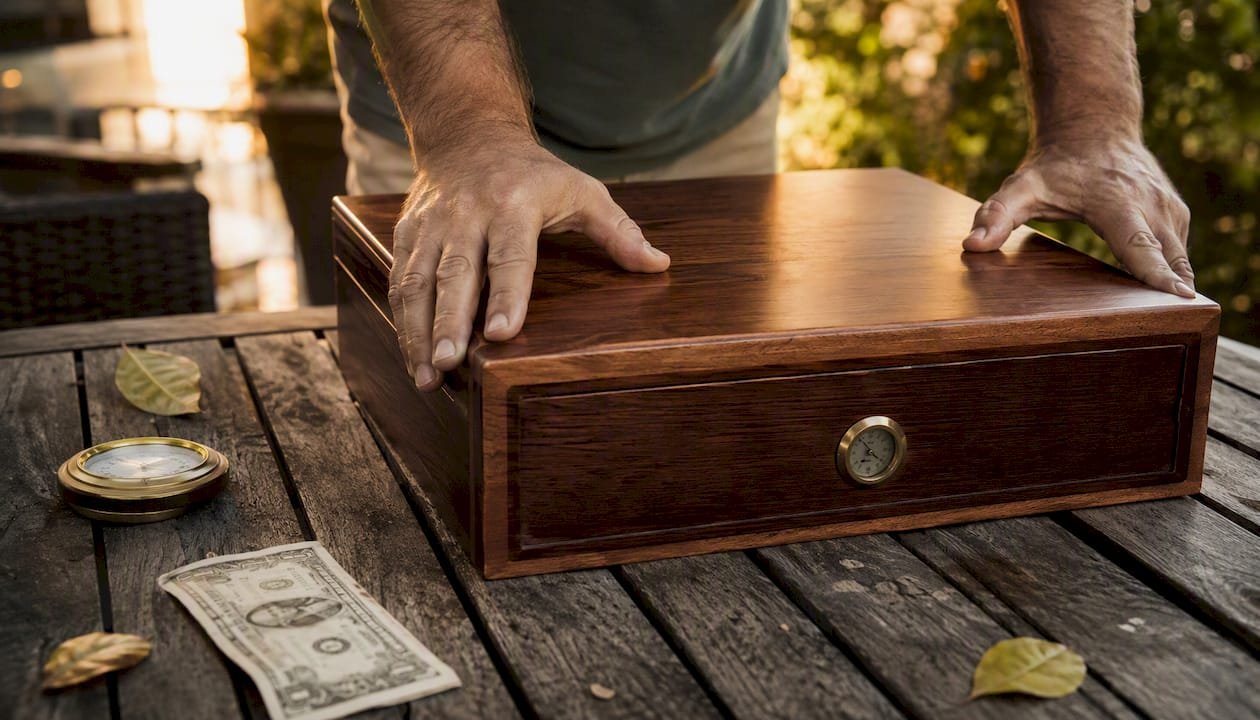
Humidor Seal Test: Quick Checks for Cigar Owners
The three fastest, most reliable ways to run a humidor seal test are the dollar-bill drag, the whoosh/listen check, and a flashlight sweep, and you can finish all three in under five minutes. A passing result means the bill resists being pulled at every point around the lid, you hear or feel a brief puff of air when closing, and no light bleeds through the seams in a dark room. If your humidor fails any one of these, your cigars are losing moisture faster than they should.
Quick 5-minute checklist:
- Move your cigars to a zip-lock bag or travel case before any repair work.
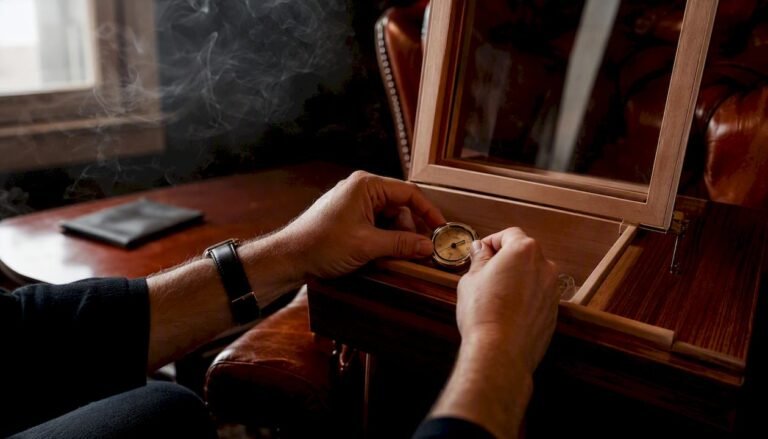
- Set your digital hygrometer inside and note the current RH reading.
- Close the lid and listen for a soft whoosh of displaced air.
- Pull a dollar bill slowly around the full lid perimeter.
- Shine a small LED flashlight inside in a darkened room and check every seam.
Pass/fail targets to keep in mind:
- RH drop after a brief opening: less than 4–5% is acceptable.
- Recovery to within ±3% of your target: should happen within a few hours.
- Daily drift with the lid closed: a small daily percentage change is a healthy sign.
According to humidity stability guidance from MOZSLY, seal quality and humidity stability are separate things — short-term checks tell you about the seal, while a 7–14 day log tells you about overall stability.
Pro Tip: Calibrate your hygrometer before you diagnose anything. An uncalibrated sensor is the single most common reason cigar owners think they have a leak when they don’t.
Key Takeaways
| Point | Details |
|---|---|
| Three fastest seal checks | Dollar-bill drag, whoosh/listen test, and flashlight sweep — all done in under five minutes. |
| Pass/fail targets | Less than 4–5% RH drop after opening; recovery to ±3% within hours; daily drift ≤1–2%. |
| Repair priority order | Re-season cedar first, then targeted silicone for glass gaps, then hinge adjustment or replacement. |
| RH safe zone | Target 65–72% RH; sustained levels above 75% raise mold and tobacco blossom risk. |
| Calibrate before diagnosing | Run the salt test on your hygrometer before assuming a seal failure — a bad sensor is a common false alarm. |
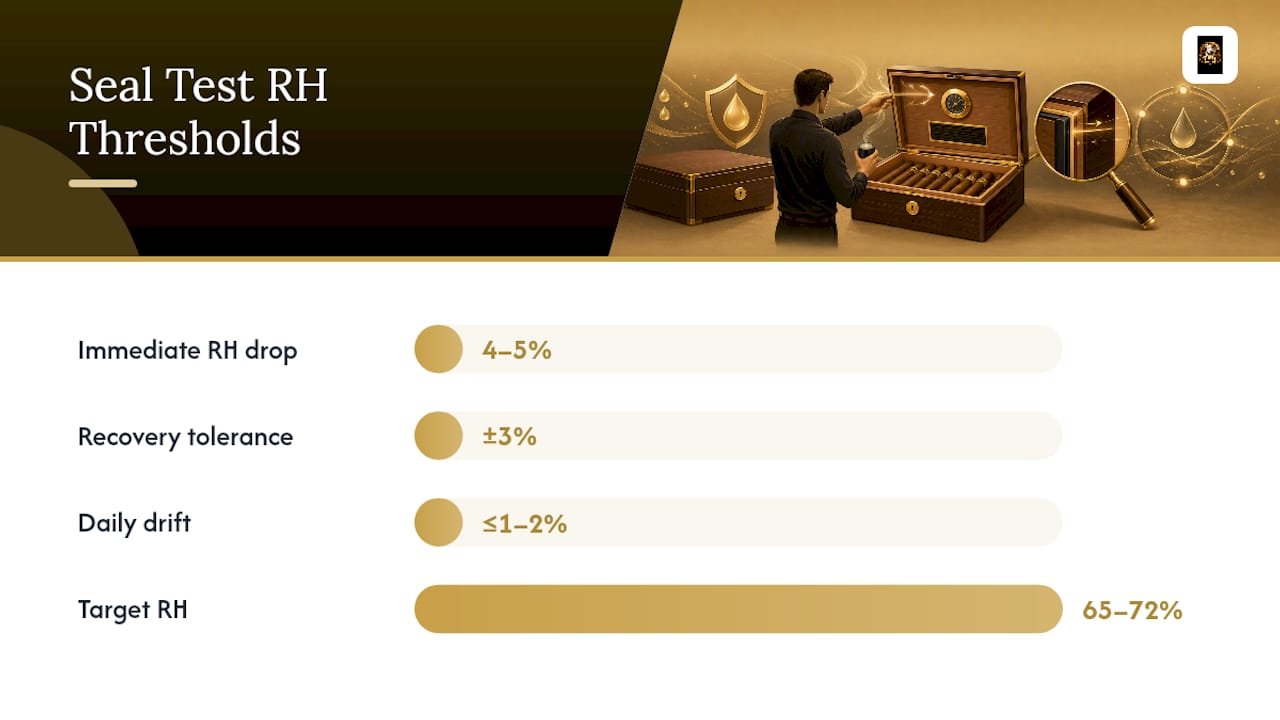
Table of Contents
- The whoosh test: what to listen for when you close the lid
- Dollar-bill test: step-by-step procedure and how to read the results
- Flashlight inspection: finding visible gaps, warped frames, and glass seams
- What you’ll need for testing and simple repairs
- How to repair common leaks, from re-seasoning to gasket fixes
- Repair vs. replace: how to decide
- Are humidors supposed to be airtight?
- Expert tips from a cigar retailer’s perspective
- When the conventional wisdom on humidor seals gets it wrong
- Protect your collection while your humidor is being repaired
- Sources
- FAQ
The whoosh test: what to listen for when you close the lid
The whoosh test measures air exchange at the lid perimeter. When you close a well-sealed humidor, the lid compresses the gasket or cedar lip and briefly displaces the air inside, producing a soft, audible puff. No sound at all means air is escaping through gaps rather than being pushed out in one controlled moment.
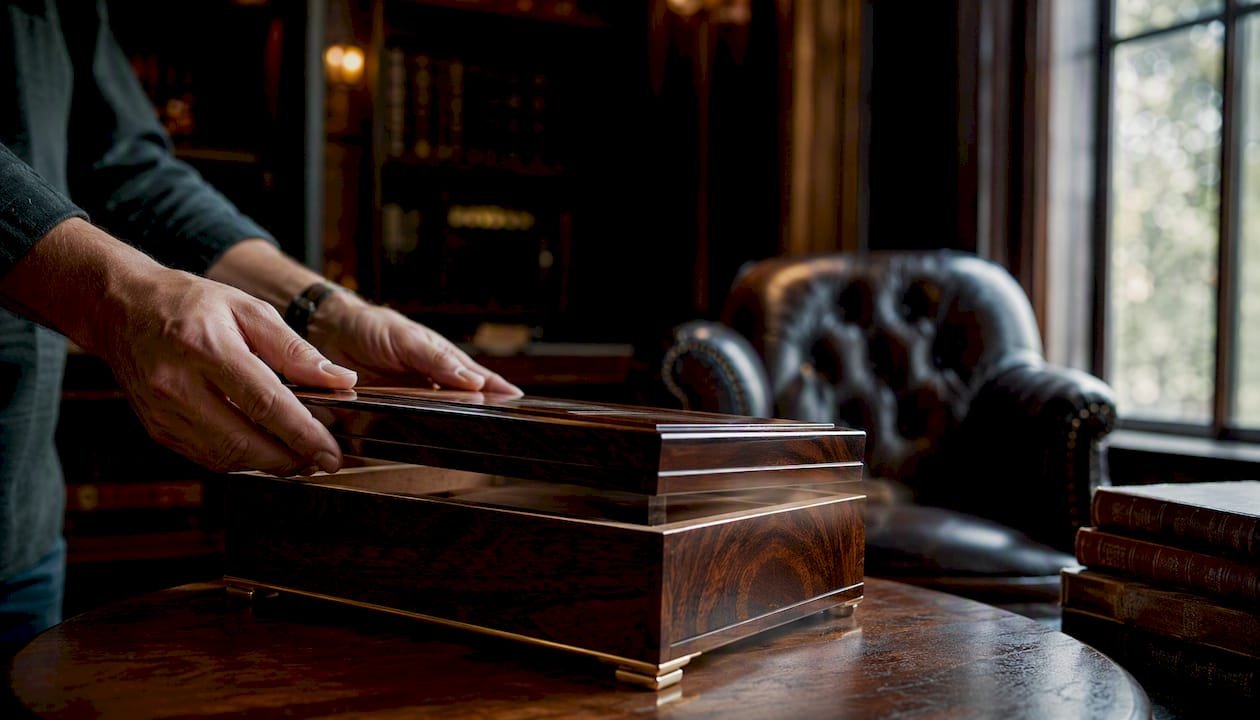
Close the lid firmly but without slamming it. Press down lightly on the center of the lid as you close it and listen. Then try pressing on each corner in turn and close again. A healthy humidor gives a consistent, gentle whoosh from the same spot each time. If the sound is absent on one side but present on the other, the lid is likely warped or the hinge tension is uneven.
This check is most useful after travel, after rehousing cigars, or any time you suspect the lid has shifted. It takes about 30 seconds and requires nothing but your hands and ears.
Pro Tip: If the whoosh only appears when you press one specific corner, the hinge on the opposite side may be pulling the lid out of square. That’s a hinge-tension issue, not a gasket failure — and the fix is different.
Dollar-bill test: step-by-step procedure and how to read the results
The dollar-bill test checks lip-and-groove compression and pinpoints local weak spots around the lid. It’s the most widely recommended seal check in the cigar community for good reason: it requires no tools and gives you a precise map of where the seal is failing.
Steps:
- Open the lid and place a dollar bill (or a similarly sized strip of flat paper) halfway across the front edge of the lid, so half hangs inside and half outside.
- Close the lid on the bill.
- Gently pull the bill straight out. Note the resistance.
- Repeat at the two front corners, both sides at the midpoint, both rear corners, and the rear center. That’s seven positions total.
- Log which positions feel loose and which feel snug.
How to read the results:
- Slides out with no resistance: The seal is weak at that spot. Air is exchanging freely there.
- Slight drag, comes out with a steady pull: Acceptable, though borderline. Worth re-seasoning before worrying further.
- Firm resistance, requires real effort to pull: Good compression. The seal is doing its job at that point.
- Cannot pull it out without forcing: Excellent seal at that position.
Pro Tip: Use a fresh, flat bill or a strip of copy paper rather than a crumpled one. A wrinkled bill compresses unevenly and gives you a false “snug” reading. Also repeat the test after re-seasoning — cedar swells with moisture and a borderline result often becomes a pass.
Flashlight inspection: finding visible gaps, warped frames, and glass seams
A gap you can see is a gap you can fix. The flashlight test turns invisible leaks into obvious targets — and it takes less than two minutes in a dark room.
Place a small LED flashlight inside the humidor, close the lid, and take the whole unit into a dark room or closet. Look at every seam from the outside: the four corners, the hinge line, the front lip, and any glass panels. Light bleeding through means air is moving through.
Work through each area systematically. Hinges are a common culprit — the hardware can pull one side of the lid slightly open even when the front appears flush. Glass panels on desktop humidors often develop hairline gaps at the frame joints, especially where the frame meets the cedar body. Corners are where warping shows up first; a lid that has bowed even slightly will show a crescent of light at the corners while the center seals fine.
What the light tells you:
- Light at corners only: Lid warping. Re-seasoning may help; severe warping usually means replacement.
- Light along the full front edge: The gasket or cedar lip has compressed or shrunk uniformly. Re-seasoning is the first move.
- Light at glass frame joints: Frame adhesive has failed. Food-grade silicone is the targeted fix here, as detailed by Holt’s Cigar Company’s repair guide.
- Light at the hinge line: Hinge tension or alignment issue. Check whether the screws are loose before anything else.
What you’ll need for testing and simple repairs
Gather these before you start. Having everything on hand means you won’t leave your cigars out longer than necessary.
Testing tools:
- Flat, crisp paper or a dollar bill
- Small LED flashlight (a pen light works well)
- Digital hygrometer with ±1–2% accuracy
- Distilled water (for re-seasoning and hygrometer calibration)
Repair materials:
- Food-grade, odorless silicone caulk (clear)
- Small spring clamps
- Wood glue (for loose joints on the exterior frame only)
- Fine-grit sanding block (220 grit)
- Soft lint-free cloth
Two safety notes worth taking seriously: ventilate the room when applying silicone, and remove every cigar and your humidification source before using any chemical product inside the box. Silicone off-gassing inside a sealed humidor will damage your cigars.
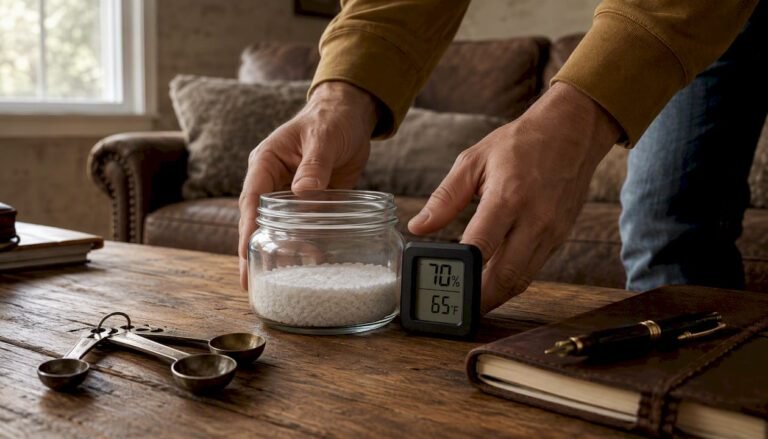
Pro Tip: *Before diagnosing a leak, run the salt calibration test on your hygrometer. Place the sensor in a sealed bag with a small dish of saturated salt solution (table salt and a few drops of distilled water) for 6–8 hours.
How to repair common leaks, from re-seasoning to gasket fixes
Start with the least invasive fix and work up. Most seal failures respond to one of three interventions, in this order.
Step 1: Re-season the cedar. Cedar shrinks in dry conditions, which is the most common cause of a weakening seal. Wipe the interior cedar surfaces (not the cigars, not the humidification device) with a cloth barely dampened with distilled water. Close the lid and let it sit for 24–48 hours. The wood absorbs moisture, swells slightly, and often restores compression at the lip. Re-season a second time if the first round only partially closes the gap.
Re-seasoning costs nothing and fixes the majority of mild seal failures. Skip it and go straight to silicone, and you may be sealing a box that just needed a drink of water.
Step 2: Apply food-grade silicone to glass frame gaps. If the flashlight test showed light at a glass panel joint, clean the gap with a dry cloth, apply a thin bead of clear, odorless, food-grade silicone, smooth it with a damp fingertip, and let it cure for 24 hours with the lid open. According to RapidRepair’s complete fix guide, this is the right second-line fix for glass and frame gaps after re-seasoning has been tried.
Step 3: Adjust or tighten hinges. Loose hinge screws are easy to overlook. Tighten them with a small screwdriver and retest. If the hinge itself is bent or the lid still sits unevenly, a replacement hinge set (available from most humidor suppliers) is a straightforward swap.
What to avoid: never apply heavy wood glue or construction adhesive to interior cedar surfaces. Never use a silicone product that contains acetic acid (the “vinegar smell” type) — the off-gassing will taint your tobacco.
Repair vs. replace: how to decide
Most humidors are worth repairing. A few are not.
Repair is the right call when:
- The humidor is less than five years old and structurally sound.
- The lid warping is mild and responds to re-seasoning.
- The daily RH drift is 2–3% and the seal tests show one or two localized weak spots.
- The fix requires only silicone, re-seasoning, or a hinge tightening.
Replace when:
- The lid has visibly bowed and re-seasoning hasn’t corrected it after two full cycles.
- The cedar interior is delaminating or showing mold that won’t clean off.
- Daily RH drift exceeds 4–5% consistently, even after repairs.
- The humidor has failed multiple calibrated hygrometer checks over several weeks.
If you bought the humidor recently and it’s failing out of the box, check the refund and returns policy before spending time on repairs — a defective seal on a new unit is a warranty issue, not a DIY project.
Are humidors supposed to be airtight?
No. A perfectly airtight humidor is actually a liability. Cigar Aficionado confirms that total airtightness combined with moisture inside raises mold risk — controlled airflow and correct cedar seasoning are what you want, not a hermetic seal.
The practical target is a tight seal that slows air exchange significantly without stopping it entirely. That distinction matters for how you interpret your test results: a humidor that passes the dollar-bill test at six of seven positions is performing well, even if one spot shows slight give.
Recommended RH ranges:
- General target: 65–72% RH, per MOZSLY’s humidity stability guide.
- Many experienced collectors prefer a tighter band around typical mid-60s to low 70s percent RH for long-term storage.
- Above 75% RH: HumidorDiscount’s FAQ notes that sustained RH above this level materially increases the risk of tobacco blossom and mold.
Stability metrics to monitor:
- Drop after a brief opening: less than 4–5%
- Recovery time to within ±3% of target: within a few hours
- Daily drift with lid closed: 1–2% or less
To get a reliable picture, log your hygrometer reading twice daily for 7 days. Place the sensor centrally, not against a wall or the humidification source.
Expert tips from a cigar retailer’s perspective
Check seals seasonally, not just when something seems wrong. Winter heating systems drop ambient humidity fast, and cedar shrinks with it. A humidor that held perfectly in October may need re-seasoning by January.
Place your hygrometer centrally. A sensor pushed against the humidification device will read high; one in a corner will read low. Neither tells you what your cigars are actually experiencing.
Use Boveda packs during and after repairs. Boveda two-way humidity packs maintain a specific RH without overshooting, which makes them ideal for the re-seasoning phase and for the 7-day stability log afterward. Sponge-based humidifiers can spike RH unpredictably during the same period.
Pro Tip: After any travel with your humidor — even a short car trip — run the whoosh test and a quick dollar-bill check at the corners. Vibration and temperature changes can shift lid alignment in ways that aren’t visible until you test.
Re-check after seasonal swings. If you move your humidor from a climate-controlled room to a garage or basement for storage, expect the seal to need attention. Cedar responds to ambient humidity, and a new environment almost always means a new calibration cycle.
When the conventional wisdom on humidor seals gets it wrong
Most advice on this topic treats the dollar-bill test as the beginning and end of seal diagnosis. It’s not. The bill tells you about compression at the lid perimeter — nothing more. The flashlight test catches what the bill misses, and the 7-day humidity log catches what both miss.
The other piece of conventional wisdom worth questioning: the idea that a tighter seal is always better. Cigar owners sometimes chase a perfectly airtight box, adding extra gasket material or sealing every possible gap. That approach creates a different problem. Without any air exchange, moisture stratifies, mold finds its footing, and cigars age unevenly. The goal is a controlled seal, not a hermetic one.
What actually matters, in order: calibrate your hygrometer first, run all three physical tests, log stability for a week, and only then decide whether you’re repairing or replacing. Most people skip straight to silicone and wonder why the problem persists. The diagnosis step isn’t optional — it’s where the fix lives.
Protect your collection while your humidor is being repaired
If your humidor needs work, your cigars still need a home. Thor’s Cigar Vault carries a curated selection of luxury humidors and premium accessories — from replacement units to Boveda packs and digital hygrometers — so you’re never caught without proper storage. And if you’re looking to restock after a humidity incident, the Arturo Fuente FFOX Opus X Perfecxion 4 5-pack is one of the finest ways to rebuild a collection worth protecting.

New to Thor’s Cigar Vault?
Sources
The sources below each add something specific that goes beyond what’s covered here.
Humidor Seal Test & Humidity Guide — MOZSLY: The most thorough treatment of the drop/recovery/drift metrics and the 7–14 day stability log. If your results are borderline, follow the logging protocol here before committing to repairs.
How to Repair Your Humidor So It Will Seal — RapidRepair.blog: A step-by-step repair walkthrough covering re-seasoning, silicone application, and when to stop trying. Useful if you’ve already run the tests and need the fix sequence in detail.
Humidor Not Holding Humidity? — Cigar Amigo: Focuses on hygrometer calibration, including the salt test. Read this first if you’re not sure whether your sensor is accurate.
Dollar Bill Test Video — YouTube: A short visual demonstration of the dollar-bill method. Pair it with the written steps above if you’re doing this for the first time.
The salt calibration test is a five-minute check that has saved countless cigar collections from unnecessary repairs. Run it before you do anything else.
FAQ
How do you test the seal on a humidor?
Run three checks: the dollar-bill drag around the full lid perimeter, the whoosh/listen test when closing the lid, and a flashlight inspection inside a dark room. A passing result means firm bill resistance at every position, an audible puff of air on closing, and no visible light through any seam.
Are humidors supposed to be airtight?
No. A perfectly airtight humidor raises mold risk by trapping stagnant, over-saturated air. The goal is a tight seal that slows air exchange significantly — not one that stops it entirely.
Is 75% humidity too high for a humidor?
How do you make a humidor seal better?
Start by re-seasoning the cedar interior with distilled water — this is the least invasive fix and resolves most mild seal failures caused by wood shrinkage. If gaps persist at glass frame joints after re-seasoning, apply a thin bead of food-grade, odorless silicone and allow 24 hours to cure before retesting.